Interface Controls | SKUSavvy
Quick start guide to understanding the SKUSavvy interface controls and unique features of the app.
Bluetooth Barcode Scanner
SKUSavvy uses barcodes to help identity products, bins, labels, and more. Using SKUSavvy with a Bluetooth paired barcode scanner is the best way to get the most out of your SKUSavvy account. For our hardware recommendations please visit the link below.
Contextual Scanning
This means that when you have your device connected with a scanner wherever you are in the SKUSavvy app will be expecting that type of scan. For instance, during picking any scan made from the Bluetooth scanner will be looking for either a bin scan, or a product scan depending on your configuration options. If a scan is not recognized to be associated with the pick batch of products, it will give an error. Another example is during check-in, Bluetooth scans made while on the check-in will be looking for an item on that purchase order.
Large Screen Barcode Scan
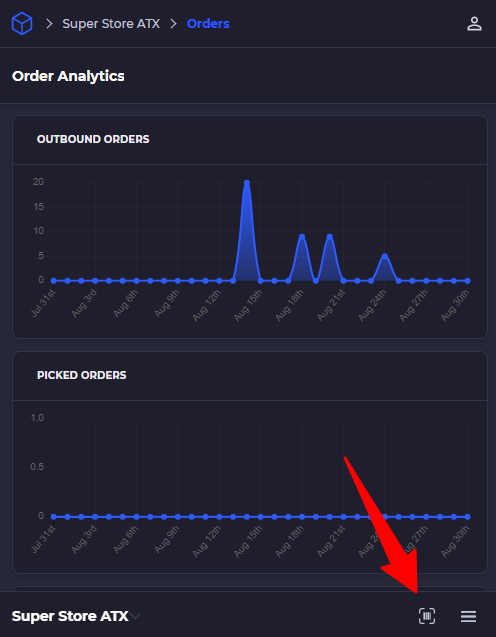
Mobile Barcode Scan
Barcode Scan Results
When you scan a barcode you will get a few different results depending on what data is attached to the barcode and recognized in the system. The three types of data you can get are unrecognized, product data, bin data. If you scan a barcode but you are NOT within a warehouse, the product will still be recognized, but you will not be able to check quantity in or adjust inventory quantity.
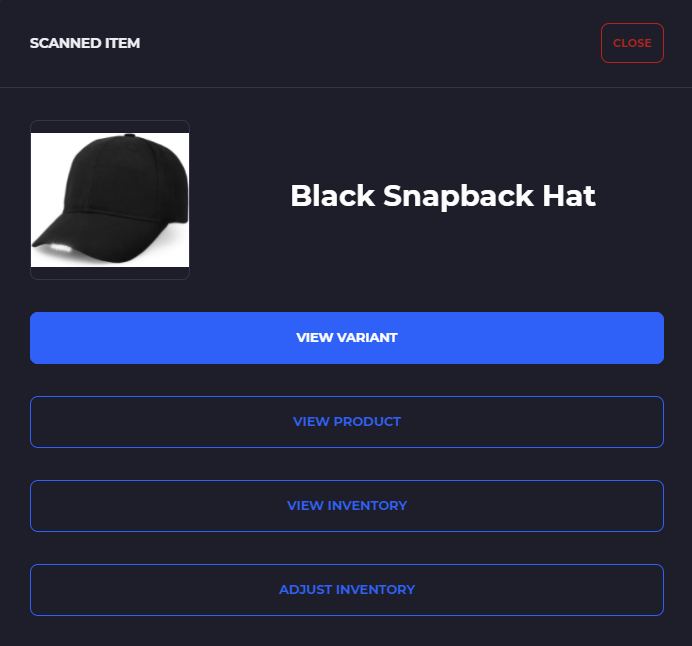
Product Recognized
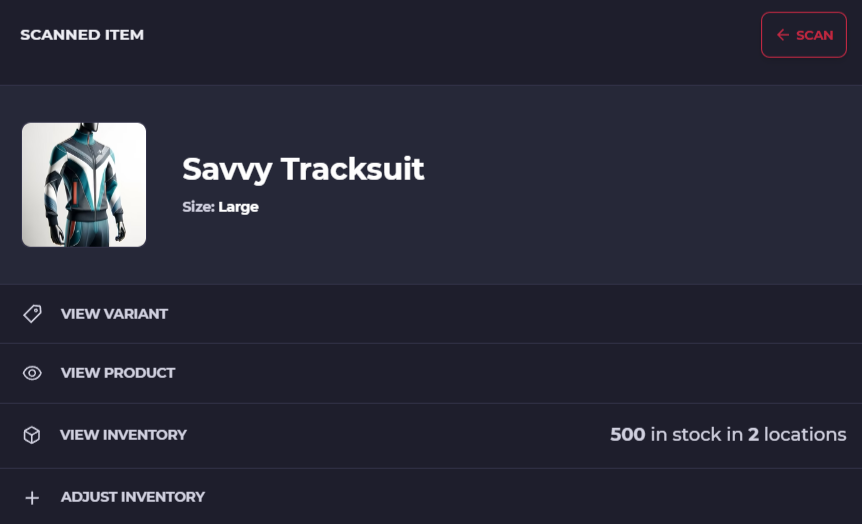
From here you can view the product variant information, view the product, view the available inventory for the warehouse you are currently within, or make an inventory adjustment.
Bin Recognized
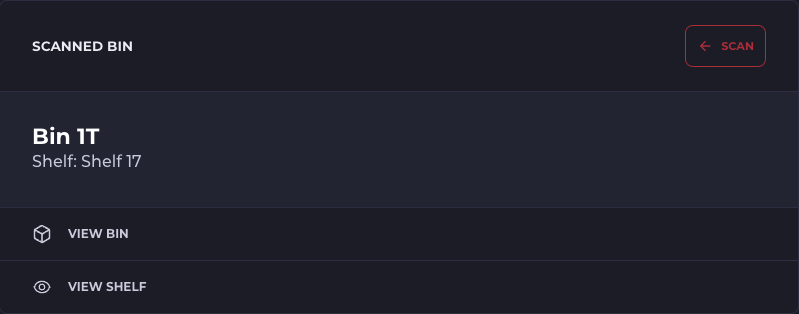
From here you can view the bin information such as products contained and the quantities available, as well as position of the bin within the warehouse system. You can also view the shelf which will show the location within the warehouse and the bins contained on the shelf.
Barcode unrecognized
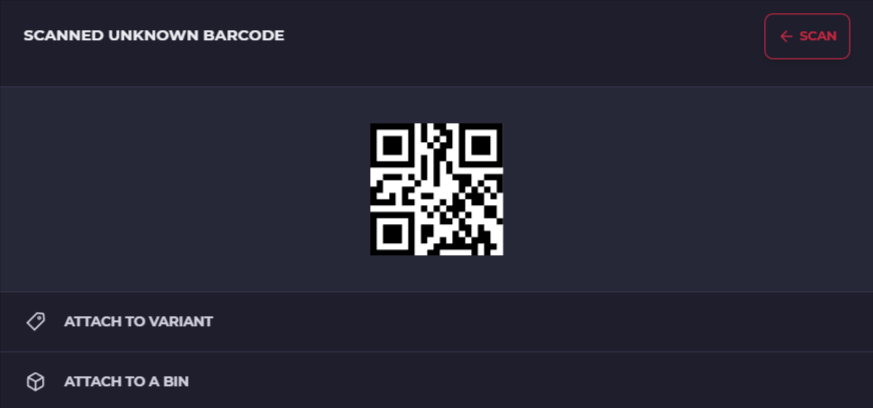
When a barcode is not recognized, you can easily attach it to a product variant, or a bin.
Camera Barcode Scanning
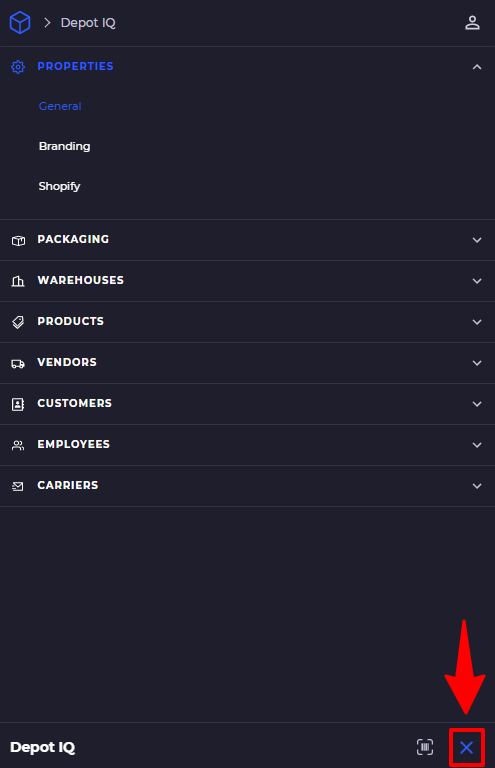
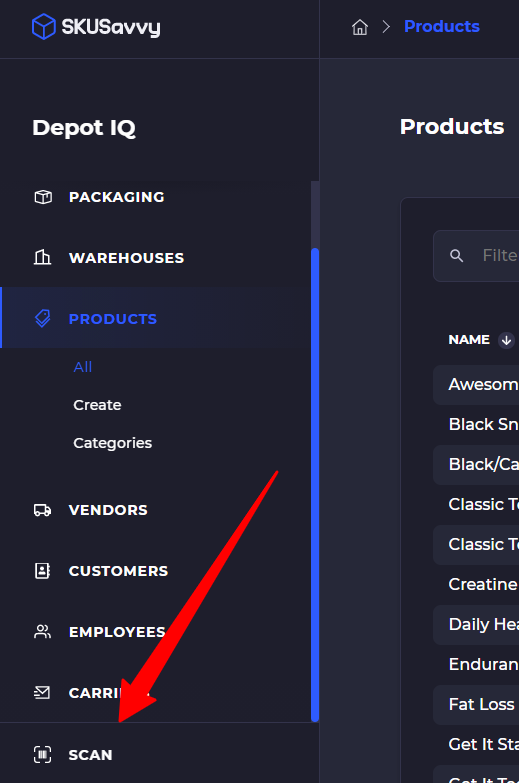
SKUSavvy uses barcodes to help identity products, bins, labels, and more. To identify whether or not a barcode is correct, simply press the scan button (large screens), or the scan icon in the bottom right corner on smaller screens.
Large Screen Barcode Scan

Mobile Barcode Scan

Barcode Scan Results
When you scan a barcode you will get a few different results depending on what data is attached to the barcode and recognized in the system. The three types of data you can get are unrecognized, product data, bin data. If you scan a barcode but you are NOT within a warehouse, the product will still be recognized, but you will not be able to check quantity in or adjust inventory quantity.

Product Recognized

From here you can view the product variant information, view the product, view the available inventory for the warehouse you are currently within, or make an inventory adjustment.
Bin Recognized

From here you can view the bin information such as products contained and the quantities available, as well as position of the bin within the warehouse system. You can also view the shelf which will show the location within the warehouse and the bins contained on the shelf.
Barcode unrecognized

When a barcode is not recognized, you can easily attach it to a product variant, or a bin.
Search and Filter
Filter Bar

Within every primary set of data - products, customers, orders, bins etc. you will find a search bar and filters at the top. This filter uses an intelligent search that will surface all relevant results related to your query. It is case insensitive. You can also adjust table columns shown and position of those table columns. In addition, you can save table filters and set a default view for those table filters. In order of left to right:
Search for anything
Select type filters
Select one or multiple product tags to filter by
Enter price and on some tables cost information for products
Paginate through results (25/page)
Save table filters
Adjust table columns and position of columns
3-Dot Menu
One of the most important buttons to edit various workflows and settings is the 3-dot menu. We encourage you to click this to see the variety of settings that exist around SKUSavvy.

Clickable Elements
Depending on what you click SKUSavvy will bring you into different data. Something that confuses some people is they think they are clicking on one thing and end up at another.

One of the key things to remember is that if you click on something that is underlined, you will be brought to that specific data element, whereas if you click on the row it will bring you there.
1) Underline will go to the product detail
2) Row will go to the product variant detail (from here we are looking at the product list)

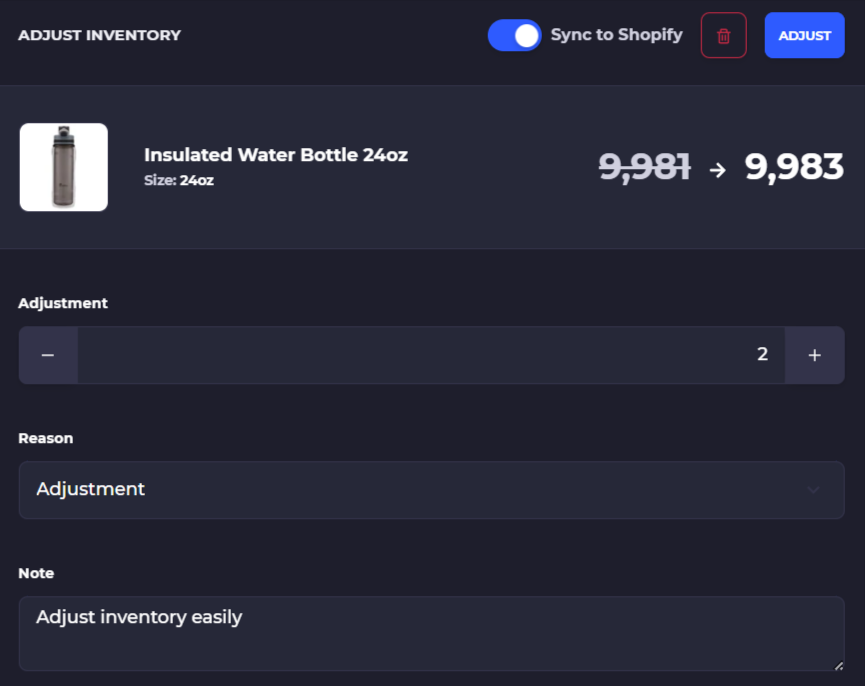
Easy Inventory Adjustment
From any inventory list or where you see the inventory quantity shown (except on the product list) you can click on the inventory quantity and make an adjustment (must have the right permissions).

